Contact us now, we are always here for service
Ameri glass bottles, Since 1968. Your custom glass containers & stock glass container items wholesale specialist. Our customer service is always online 24/7/365.
Follow Us:
The Perfect Guide to Sterilizing Canning Jars for Beginners
2024-04-05 17:40:34Table of Contents
Introduction
Sanitizing jars before canning food at home is essential. Sterilization kills off any harmful bacteria or microorganisms present on them that might contaminate the food you have spent hours perfecting – keeping all your hard work safe! Furthermore, sterilized jars allow for reuse later without risk.
Canning sterilization is designed to eliminate residues, films and deposits which might disrupt food preservation efforts or seal tightness in new jars straight out of their packaging. Due to dust accumulation during transport and storage processes, sterilizing ensures no impurities will interfere with creating tight seals between lids.
There are various simple techniques you can use at home for sterilizing jars without needing special canning equipment, like oven, microwave and dishwasher, that make sterilization simple and germ-free. You just have to ensure you use enough time and temperature in order to adequately kill bacteria – this guide outlines these practices as best practices when sterilizing using common household appliances such as an oven for sterilizing jars.
How to Clean Canning Jars and Lids Before Sterilization
To ensure your canning process is off to a hygienic start, it’s essential to thoroughly clean jars and lids before sterilizing them. Follow these simple steps to prepare them properly:
1. Gather Supplies: Use hot water, a mild dish soap, and a sponge or cloth for washing.
2. Wash Thoroughly: Clean each jar and lid by scrubbing them inside and out with hot, soapy water. This removes any dust, residue, or impurities that could affect your canning results.
3. Rinse: After washing, rinse each jar and lid thoroughly with clean hot water. This step ensures all soap is removed, preventing it from interfering with the sterilization process.
4. Air Dry, Don’t Towel Dry: Once rinsed, place the jars and lids upside down on a clean, dry rack or towel. Allow them to air dry to avoid introducing any lint or bacteria from towels.
By following these steps, you’ll ensure that your canning jars and lids are perfectly cleaned and ready for sterilization. This not only protects your preserved goods but also enhances their quality and safety.
Reusing Water After Sanitization
After using the hot water method to sanitize jars, rings, and lids, it’s important not to discard the water immediately. This water serves a dual purpose and can be efficiently reused for the canning process.
Here’s what to do:
Retain the Water: Keep the water in the pot. It’s already heated and ready to be used for the boiling water bath needed to process filled jars.
Save Energy: By reusing this preheated water, you save the time and energy it would take to heat fresh water from scratch.
Quick Transition: You can seamlessly move from sanitizing to canning without delay. Once your jars are filled and ready, simply submerge them in the same pot for processing.
Repurposing the water in this way optimizes your canning routine and minimizes waste.
Oven Method for Sterilizing Jars
Oven sterilization of glass canning jars at home is one of the best and quickest methods available, providing a step-by-step guide. Here’s our complete tutorial:
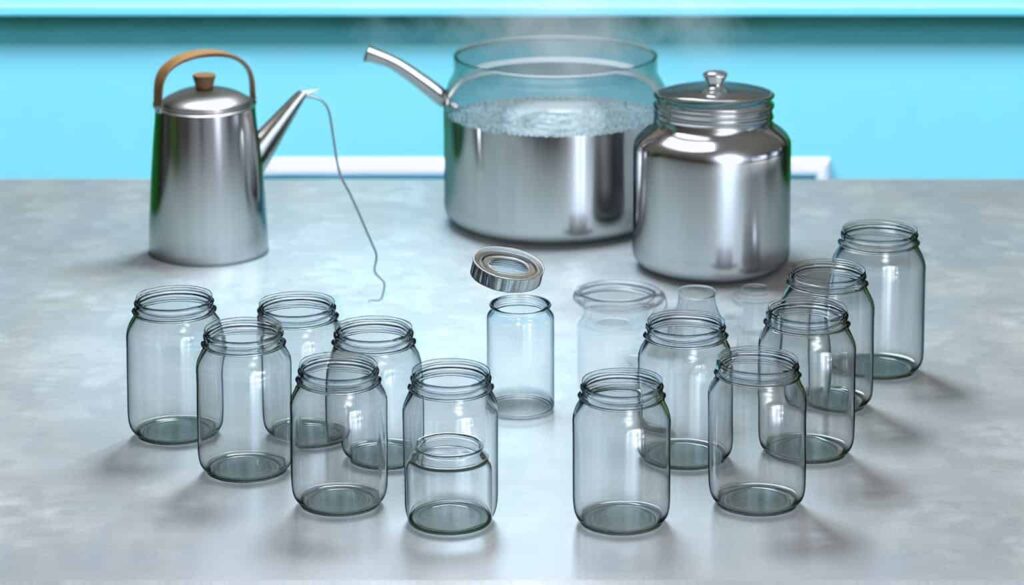
1. Preheat Oven to 250degF
Start by preheating your oven at 250degF to avoid cracking or breaking of glass jars that expand too rapidly during heating. Place an oven rack in the middle position so all sides will receive heat equally and ensure their full expansion and expansion are kept under control by heat from all corners of your oven.
2. Arrange Jars Upside Down on Baking Sheet
Arrange glass jars upside-down directly on an oven rack or baking sheet so the hot air can fully circulate throughout all surfaces, sterilizing all areas. This allows hot air to fully circulate inside them for efficient sterilization of surfaces inside them.
3. Sterilize for at Least 10 Minutes
Once the oven reaches temperature, keep the jars inside it for at least 10 minutes in order to kill any microorganisms or bacteria that might exist inside them. Heating ensures all bacteria or pathogens will be eliminated through this method of sterilization.
4. Use Jars Immediately After Removing from Oven
As soon as their time in the oven has expired, use oven mitts to carefully remove hot jars from the oven using oven mitts in order to avoid temperature shocks when filling your sterilized jars immediately after taking them out. Sterilized jars must be used right away or else bacteria could recontaminate their interior surfaces and compromise sterility.
Oven Method (or Oven and Jar) An easy, quick way of sterilizing multiple jars simultaneously is the Oven method – be sure to allow time for each jar to cool completely prior to filling them up with homemade jam, jellies or canned goods from home!
Dishwasher Method
A dishwasher offers an efficient hands-off method of sterilizing canning jars. To sterilize jars in the dishwasher:
1. clean them prior to placing on the top rack, without other dishes or utensils – typically 12 pint-size jars should fit comfortably within most dishwashers.
2. Do not place any jars on the bottom rack; their maximum exposure should be provided through hot water sprayed from above during their cycle.
3. Select the Sanitizing or High Heat Wash and Dry Cycle on your dishwasher’s manual; make sure the temperature of the water gets as hot as possible in order to fully sterilize jars.
4. Run full cycle with all jars on top rack only; don’t interrupt or shorten cycle time!
5. Once the cycle is completed, quickly take steps to retrieve and use your jars while they’re still hot in order to maintain sterility. Allow air drying upside-down over a clean towel without touching them as this may reintroduce contamination into your system.
6. Fill your sterilized jars quickly after sterilization with food preparations while they’re still warm to avoid bacteria from entering when cooling occurs. This also ensures you keep all their containers properly closed for storage purposes!
A key step when using this method is going directly from dishwasher to filling of hot jars immediately following, in order to minimize bacteria reintroduction during storage or handling.
What To Do If Your Dishwasher Lacks a Clean and Sanitize Cycle?
If your dishwasher doesn’t have a clean and sanitize cycle, you can still ensure your jars and rings are ready for canning or storage. Here’s how:
1. Pre-Wash Your Items: Begin by thoroughly washing the jars and rings by hand. Use hot, soapy water and a scrub brush to remove any visible residue or build-up. Rinse them well with warm water.
2. Sterilize with Boiling Water: Fill a large pot with water and bring it to a rolling boil. Carefully submerge the jars and rings in the boiling water for at least 10 minutes, making sure they’re fully covered. Use tongs to safely remove them and place them on a clean surface to air dry.
3. Utilize the Oven: Another option is to use your oven to sterilize the jars. Preheat your oven to 225°F (107°C), place the jars on a baking sheet, and heat them for 20 minutes. Be cautious when handling them, and allow them to cool before using.
4. Consider a Chemical Sanitizer: If you prefer not to use heat, opt for a food-safe sanitizer, such as a solution of bleach and water. Mix 1 tablespoon of unscented chlorine bleach with 1 gallon of water. Soak the jars and rings for a few minutes, then rinse them thoroughly.
By following any of these methods, you can ensure that your jars and rings remain clean and safe for use, even without a dedicated dishwasher cycle.
Microwave Method
Microwave ovens offer an easy, quick and affordable way to sterilize jars in the home without needing special equipment. Here is how you can safely use one:
Firstly, wash all jars carefully using soapy hot water in order to rid them of dirt or residue before rinsing well and placing in microwave. Anschliessend, start by heating all contents of microwave a maximum of one minute per side (at maximum power setting), until steam escapes out through vent.
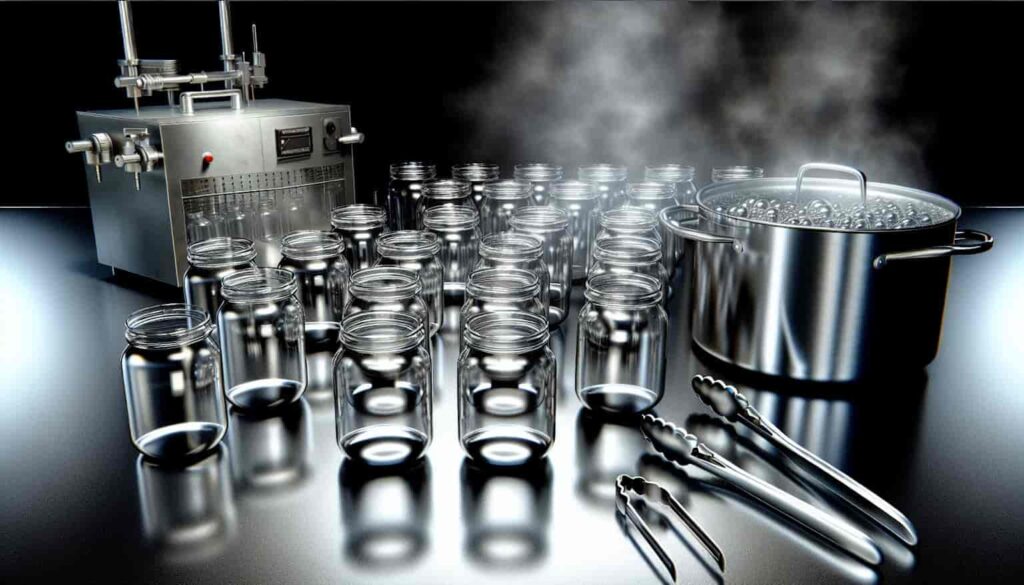
Secondly, clean jars thoroughly using hot water alone before placing inside microwave;
Fill your clean jars with water, leaving 1-2 inches of headspace at the top. This water will help evenly disperse heat to sterilize them effectively.
Put 2-3 filled jars at once into your microwave depending on its size, then turn up full power for 2-3 minutes until water boils fully and comes to a boil.
Carefully take caution in handling boiling hot jars taken out from a microwave, discarding their content carefully into an outside container before grasping tightly by their edges to avoid burns. Use oven mitts if using this technique!
Set your sterilized jars upside-down on a clean towel to cool. Be aware that using microwave sterilization only sterilizes them for immediate use; not storage purposes.
Repeat this procedure to sterilize more jars; any that have been sterilized in the microwave must be used immediately, rather than left cooling before trying to reheat or re-sterilize later on.
Boiling Water Method
For a quicker method, especially if time is of the essence, using boiling water can get the job done in about 30 minutes. Follow these steps:
Boil Water: Fill a pot with water and bring it to a rolling boil.
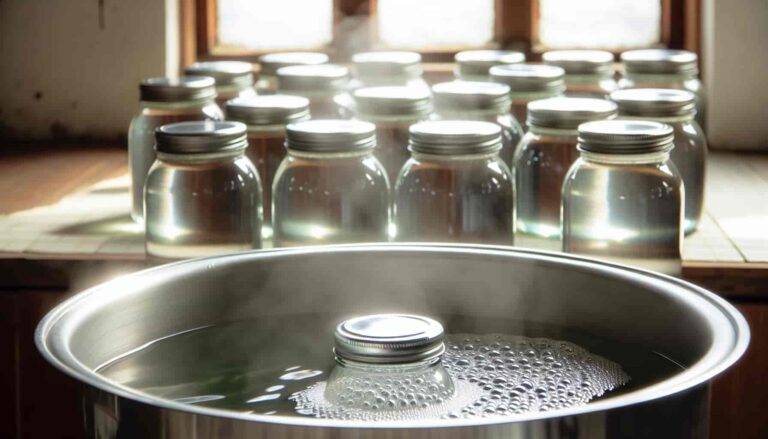
Submerge the Jars and Rings: Carefully place the jars, rings, and lids in the pot to ensure they’re fully covered by boiling water.
Maintain the Boil: Keep them immersed in the boiling water for at least 10 minutes for effective sanitization.
This method is perfect for those who prefer a more hands-on approach and need a quicker turnaround than the dishwasher provides.
Both methods efficiently prepare your canning supplies, allowing you to proceed with your canning projects worry-free.
Sterilizing Lids Of Jars
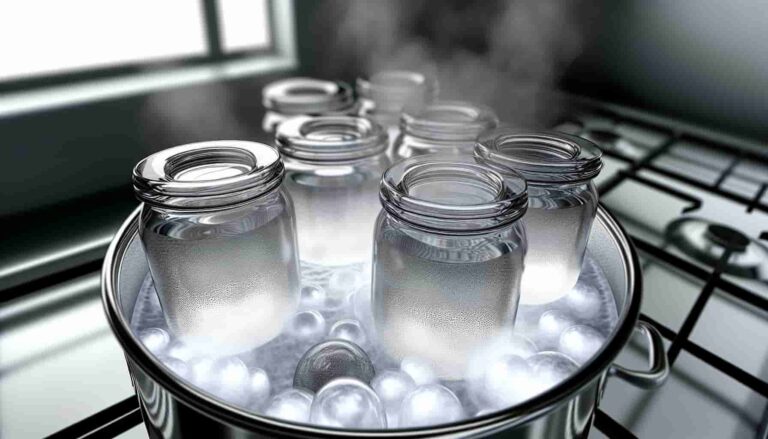
follow similar procedures outlined above as per step 2.
Jar lids must be treated differently from jars due to their metal composition, since proper sterilization requires additional steps. To effectively sterilize them:
Fill a saucepan completely with water (making sure there are no touches between lids) before simmering gently over medium heat for at least 15 minutes without boiling over.
Simmer your lids for 10-15 minutes to kill any bacteria and soften the sealing compound on them, before using tongs to safely extract them from the water and place on a clean towel for air drying.
It’s crucial to handle lids separately from jars and rings during the sanitation process. Exposing lids to high heat can ruin the inner lining that helps the jars seal, leading to potential sealing failures during canning. By keeping lids separate, you ensure that this delicate component isn’t compromised.
1. Use lids quickly after sterilizing and drying them – without touching their underside afterward! – to maximize effectiveness.
2. Sterilizing lids in simmering water is an effortless, time-saving process that only takes 10-15 minutes for perfectly sterilized lids that are ready to be used – just remember to let them fully dry afterward to ensure maximum performance when canning foods. Sterilized lids ensure safe seal quality during food preservation processes such as canning.
By carefully managing the heat exposure and handling of your canning lids, you safeguard the integrity of your food preservation efforts, ensuring that each jar is sealed securely and safely.
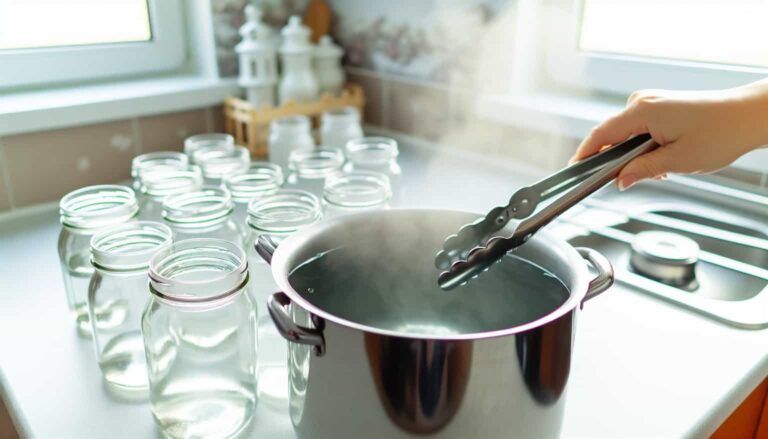
Allow Jars to Cool
Storage of Sterilized Jars
To achieve optimal results from sterilized jars, canning or jarring food quickly will ensure their optimal sterilization status is preserved over time. As their environment can potentially degrade over time, canning food in these vessels quickly will help preserve proper sterilization levels and preserve food’s freshness and nutrition.
Sterilized jars may generally be stored for 24 hours after sterilization if properly covered and turned upside-down on an absorbent towel or rack to help avoid dust or other contaminants entering their still-sterile interior. This helps ensure they will remain sterile.
Inverting the jars also ensures they dry fully; any residual moisture could provide the environment for mold or bacteria growth to resume, thus prolonging sterilization for up to one day more. Storing them with towel barriers helps preserve sterilization for extended time periods.
However, if you plan to use the jars, rings, and lids immediately, be aware that for optimal safety and sanitation, they should be used within an hour of sterilization. This is crucial to avoid having to repeat the sanitation process. Using the components swiftly ensures they are at their peak sterility, minimizing any risk of contamination.
Once sterilized jars are ready to use for canning, they should be exposed immediately prior to filling – prolonged contact with their covering towel can transfer bacteria or contaminants onto their interior surfaces over time. For best results, use the inverted jars within 24 hours for maximum success, but aim to utilize them within the first hour to maintain the highest level of hygiene and to prevent additional sanitation efforts.
Before sterilizing canning jars, it’s vitally important to inspect each one for damage such as chips, cracks or defects that might compromise sealing performance or lead to breakages during canning. Even small flaws could thwart proper sealing or lead to canning failure if left undetected.
Carefully examine all sides and parts of a glass jar, from its rim, threads, and sides, for any chips or cracks that could compromise its integrity or weaken its overall structure. Flip it upside-down for further examination – small chips near sealing areas could create issues, while large cracks might compromise it entirely.
Carefully tap each jar with a spoon to identify any rattles or rings which might indicate unseen hairline cracks; non-cracked jars will produce an audible, clear-toned sound rather than producing dull thuds.
Use caution with any jar that has cracks, chips or defects visible, doesn’t sound quite right when knocked or has any visible defects that put food preservation at risk – these defective jars do not warrant taking the risk! Instead, sterilize intact and damage-free jars prior to canning for optimal canning results.
Adjust for Altitude
When sterilizing at higher altitudes, it’s necessary to increase sterilization times due to water boiling at steadily lower temperatures the farther from sea level it goes; otherwise your sterilized jars might not reach their proper sterilization temperature under standard times.
As a rule of thumb, add five to 10 minutes extra if your location exceeds 1,000 feet above sea level, and for locations over 2,000 feet increase it by 10-15 minutes.
To determine your precise adjusted processing times based on elevation, consult a canning guide or reference chart. These tools offer tables detailing time adjustments based on altitude for various canning methods.
Follow altitude-adjusted guidelines to ensure your canning jars reach an ideal temperature to kill bacteria, thus helping prevent spoilage or foodborne illness while canning food. Don’t rush this crucial sterilization step – give yourself enough time and take an extra few steps as required by your location’s elevation for thorough sterilization of all canning jars!
Safety Tips for Handling Hot Jars
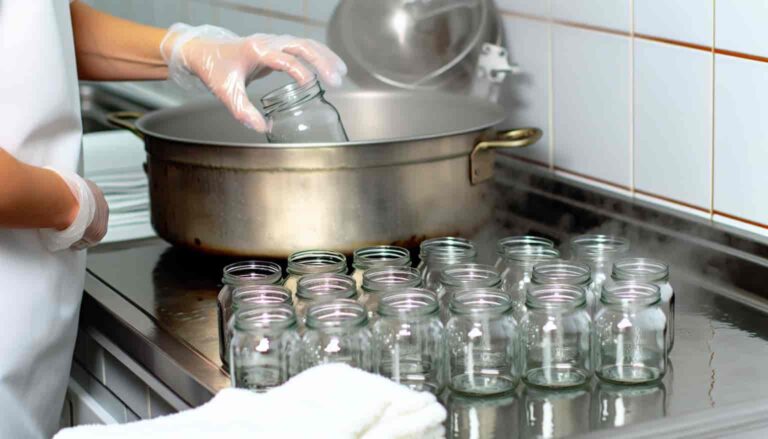
When sterilizing jars, it is vital that proper precautions are taken in handling them when taking them from an oven, dishwasher or microwave in order to avoid burns or shattering of any sort.
Use oven mitts or a dry towel when taking hot jars out of an oven or microwave, as the glass can quickly become extremely hot after being heated up and handling it without protection may result in serious burns to hands or fingertips. Oven mitts offer insulation from heat while simultaneously gripping and controlling hot jars safely.
Place sterilized jars on a towel or cooling rack instead of directly onto the counter; doing so may prevent cracking due to sudden temperature change; it will also serve to cushion that transition more gradually.
Prevent thermal shock by keeping jars warm until filling them, particularly if canning hot food items that could potentially crack or shatter glass jars after sterilizing them. Keep these at a warm oven at their lowest setting until ready to fill them.
Be careful when pouring hot water out of freshly microwaved jars as sudden temperature fluctuations combined with steam can cause them to crack easily. Always dole out boiling water slowly after microwaving jars.
Utilizing some basic precautions, you can safely handle sterilized jars to avoid burns or breaks while also minimizing thermal shock for successful results. Use mitts when handling them to keep yourself protected while cooling on towels to cool quickly before handling, letting jars cool on them gradually, and using thermal shock prevention mechanisms will all contribute to successful outcomes.
FAQ About Sterilizing Glass jars:
Question 1: What are my best options for sterilizing canning jars before canning?
Answer 1: For best results when canning, using either a pressure canner or large pot filled with water is the ideal way to sterilize jars for canning.
Question 2: I am searching for ways to sterilize jars without needing a pressure canner?
Answer 2: Without access to a pressure canner, sterilizing jars is possible by immersing them for an appropriate length of time in boiling water.
To ensure your jars, rings, and lids are properly sanitized, follow these detailed steps:
1. Wash Thoroughly: Start by washing all jars, rings, and lids in hot soapy water. This initial cleaning removes any surface debris.
2. Boil the Jars and Rings: Place the washed jars and rings into a large pot of water. Set your stove to high and bring the water to a rolling boil. Maintain this boil for 15 minutes to ensure thorough sterilization.
3. Prepare the Lids: Once the 15 minutes are up, turn off the heat and let the water cool for about 10 minutes. Then, add the lids to the pot. Allow them to sit in the hot water for at least 10 minutes.
4. Use Promptly: It’s crucial to use the sterilized jars, rings, and lids within an hour to maintain their sanitized state. If not, you will need to repeat the process.
5. Efficiency Tip: Consider using this same pot of water for the water bath needed in canning, saving time and resources.
By adhering to these steps, you can effectively sanitize your jars, even without specialized equipment.
Question 3: Am I able to sterilize my jars using my oven, at what temperature and duration?
Answer 3: Yes, sterilizing jars in an oven is possible. Preheat it to 225 degF (110degC) and arrange clean jars on a baking sheet before starting timer and baking them for at least 10 minutes before checking their condition.
Question 4: I am trying to sterilize some jars with boiling water – how should this process take place and for how long should they boil for?
Answer 4: For effective sterilization using boiling water, immerse jars for at least 10 minutes in a pot of hot water before submerging in them for sterilization.
While this might seem brief, the entire process, including preparation and cooling, typically takes around 30 minutes. This method offers a faster alternative to using a dishwasher, which can take multiple hours to complete a cycle. By choosing the boiling water method, you can efficiently sanitize your mason jars, making it a practical choice for those looking to save time without compromising on cleanliness.
Question 5: For jams and jellies, should jars need to be sterilized?
Answer 5: Yes, sterilized jars must be used when creating jams and jellies in order to prevent bacteria contamination and spoilage of these delicious products.
Question 6: I have two types of glass jars with metal lids to sterilize: glass jars for storage purposes only and metal lids used as lids – is their process different?
Answer 6: Both glass jars and metal lids must be sterilized properly to be effective for their intended purposes, using either boiling water or heat from an oven as sterilizing agents.
Question 7: For how long may sterilized jars be stored before being utilized?
Answer 7: Sterilized jars can be stored safely for several months until ready for use.
Question 8: If canning jars aren’t properly sterilized before canning begins, what are the consequences?
Answer 8: Incorrect sterilization methods can result in the contamination and spoilage of canned goods, making them unsafe to consume.
Question 9: Before or after washing? Should jars be sterilized?
Answer 9: In order to prevent contamination with food products, sterilization of jars prior to filling them should always occur before food filling occurs.
Question 10: Is jar sterilization possible using either microwaves or dishwashers?
Answer 10: Although some resources recommend microwave or dishwasher sterilization as being more effective than boiling water or oven sterilization methods.
Question 11: To sterilize jars at various altitudes in minimum time?
Answer 11: To ensure optimal canning practices and safety at altitude, sterilization times vary between sites. As with canning practices in general, follow guidelines specific to your altitude in terms of timing for sterilization processes.
Question 12: How can I know that my jars have been properly sterilized and are safe to use?
Answer 12: When sterilized properly, jars should appear visually clean and be clear of debris or residue, while being hot to the touch when sterilized in either boiling water or an oven.
Question 13: What are signs of improper sterilization of jars?
Answer 13: A sign of improper sterilization would include cloudy contents, bulging lids or unusual smells indicating spoilage or bacteria contamination.
Question 14: Is there an easy way to sterilize my jars?
Answer 14: Using a jar lifter to safely handle hot jars, preheating them in an oven before submersion into boiling water can make sterilization simpler and safer.
Conclusion:
Cleanliness and preservation are both key considerations when canning food products, so this guide offers various techniques for sterilizing canning jars such as oven sterilization, dishwasher sterilization and microwave sterilization as well as steps for sterilizing lids, allowing sterilized jars to cool after sterilization, storing sterilized jars securely for storage, checking for chips/cracks as well as altitude adjustments.
This guide highlights the significance of sterilizing to eliminate harmful bacteria, clean residues from jars and ensure their safe reuse. In addition to offering safety advice for handling hot jars safely and emphasizing its importance before filling food items for processing purposes to avoid overprocessing, it also stresses allowing time for cooldown prior to filling them up to reduce overprocessing.
Overall, this comprehensive guide serves as an indispensable resource for novice canners attempting to sterilize canning jars at home themselves, providing clear instructions as well as recommendations regarding time and temperature of sterilization and tips to promote safe sterilization practices.

